The Only Homemade Dog Biscuits You’ll Ever Need: Healthy, Safe & So Easy!
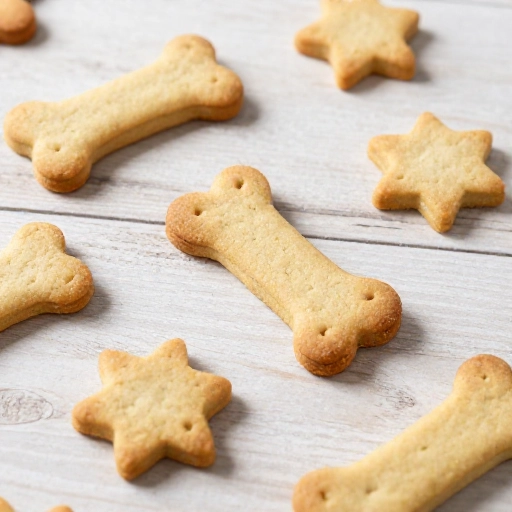
You know that look. The one your dog gives you when you’re eating a snack. It’s pure guilt. I used to feel terrible reaching for a cookie while my pup stared longingly. That’s why I started making dog biscuits myself. It’s easier than you think, and way healthier than store-bought treats full of preservatives.
These recipes aren’t just “dog food.” They are wholesome, safe, and made with ingredients you actually recognize. Peanut butter, pumpkin, oats—things you probably already have in your pantry. Plus, you control everything that goes in. No weird chemicals, no fillers, just real food your dog will love.
Ready to become your dog’s favorite person? Let’s get baking. These biscuits are crunchy, tasty, and perfect for training or just spoiling your best friend.
Why Homemade Dog Biscuits Are a Game-Changer
I used to buy expensive organic treats. Then I read the ingredient list. Half of it was stuff I couldn’t pronounce. Homemade treats solve that. You know exactly what’s inside: real peanut butter, whole wheat flour, and pumpkin. No added sugar, no salt, no artificial flavors.
Another big win? Allergies. My dog has a sensitive stomach. Store-bought treats always seemed to upset him. But these homemade biscuits? He gobbles them up with zero issues. You can easily swap ingredients based on what your dog tolerates. It’s a total game-changer for picky eaters or pups with allergies.
And honestly? It’s fun. Rolling out dough, cutting shapes, watching your dog wait by the oven. It feels good to make something with your own hands that brings them so much joy. Plus, the smell of peanut butter and oats baking is amazing—for you and your pup.
Simple Equipment You Already Have
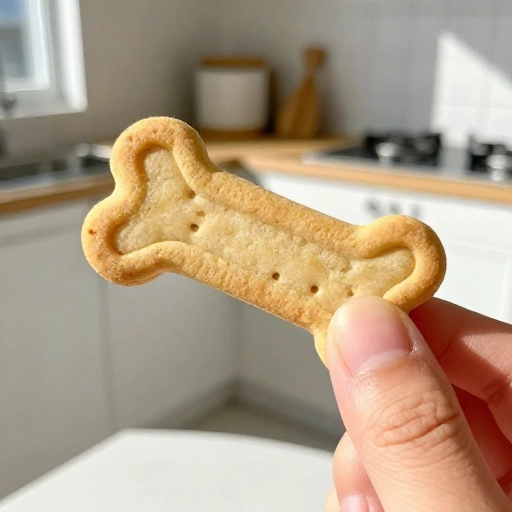
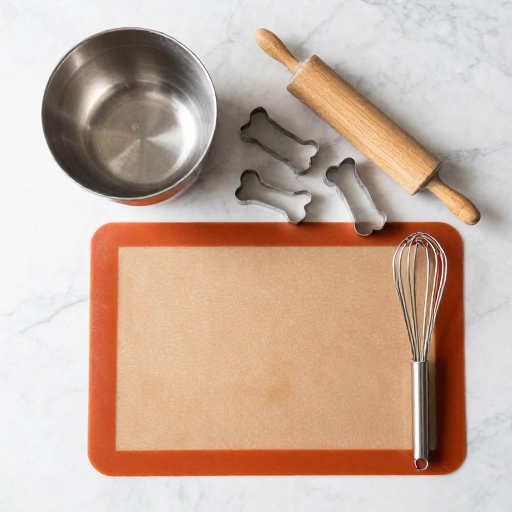
You don’t need fancy tools. A large mixing bowl, a rolling pin, and a cookie cutter (bone shapes are cute, but any shape works). A baking sheet lined with parchment paper is perfect. That’s it. I use a fork to prick the biscuits, but that’s optional.
If you don’t have a rolling pin, a clean wine bottle works fine. No cookie cutter? Just roll the dough into small balls and flatten them with your palm. Your dog won’t care about the shape—they care about the taste.
Key Ingredients for Healthy Treats
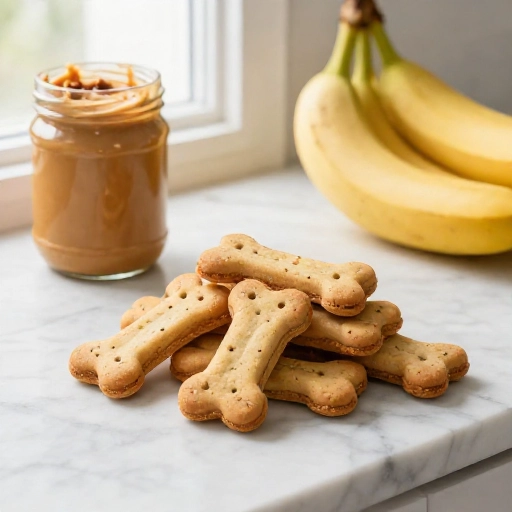
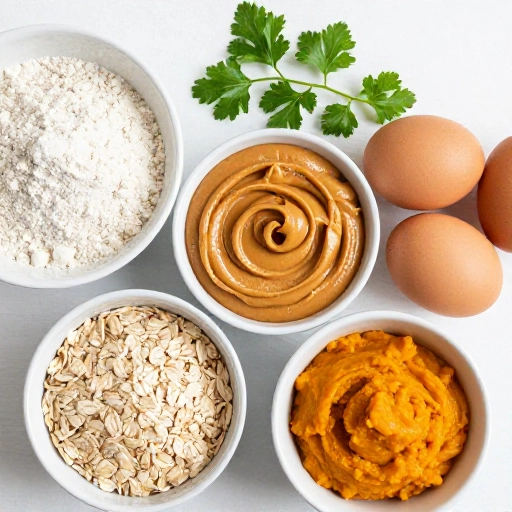
The base is simple: whole wheat flour (or oat flour for sensitive tummies), unsweetened peanut butter (make sure it has no xylitol, that’s toxic for dogs), pumpkin puree, and an egg. That’s all you need for a basic, safe biscuit.
You can add extras: a tablespoon of flaxseed for omega-3s, a pinch of turmeric for joints, or a little bit of shredded carrot for fiber. Keep it simple. Dogs don’t need fancy flavors—they love the natural taste of peanut butter and pumpkin.
One warning: never use garlic or onion powder. Those are toxic to dogs. Stick to dog-safe ingredients. If you’re unsure, just ask your vet. Better safe than sorry.
How to Make the Perfect Dog Biscuits (Step by Step)
First, preheat your oven to 350°F (175°C). Mix one cup of pumpkin puree, half a cup of peanut butter, and one egg in a large bowl. Stir until smooth. Then add two and a half cups of whole wheat flour. Mix until a stiff dough forms. If it’s too sticky, add a little more flour.
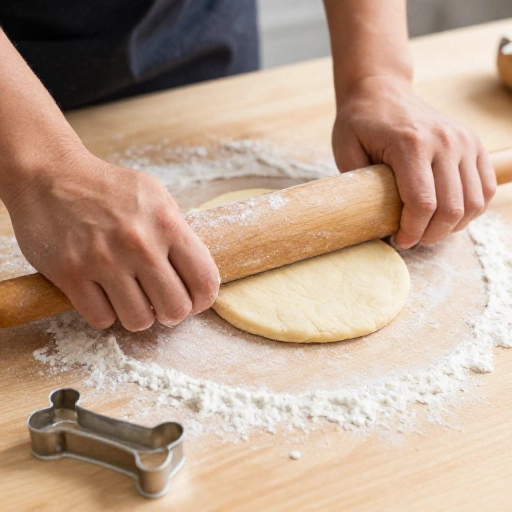
Next, roll the dough on a floured surface to about ¼-inch thick. Use your cookie cutter to cut shapes. Place them on a parchment-lined baking sheet. Prick each biscuit with a fork—this helps them bake evenly and get crunchy.
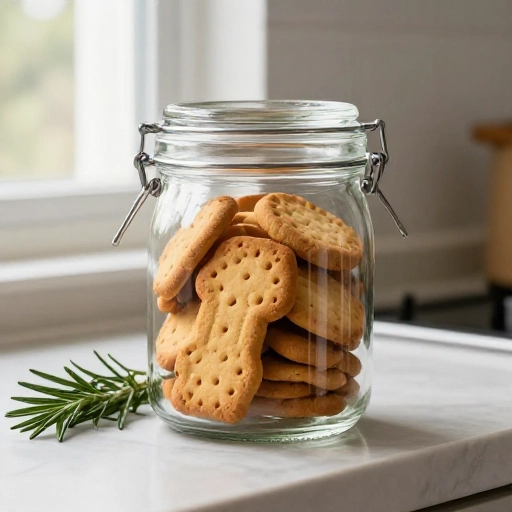
Bake for 20 to 25 minutes. They should be firm and lightly golden. Let them cool completely on a wire rack. They’ll harden as they cool. Store in an airtight container for up to two weeks. Or freeze them for months. Your dog will still love them.
Storage Tips & How to Keep Them Fresh
Homemade biscuits don’t have preservatives, so they won’t last as long as store-bought ones. Keep them in a sealed jar or bag in the fridge. They’ll stay crunchy for about two weeks. If they get soft, just pop them in the oven at 300°F for 5 minutes to re-crisp.
For longer storage, freeze them. I make a big batch and pull out a few at a time. They thaw in minutes. Your pup will think you’re a magician every time you produce a fresh, crunchy biscuit from the freezer.
Conclusion: Your Dog Deserves the Best
Making dog biscuits at home is one of the simplest ways to show your dog you care. It’s healthy, safe, and incredibly satisfying. You control the ingredients, save money, and get to see that happy tail wag every single time you reach for the treat jar.
Start with the basic pumpkin peanut butter recipe. Your dog will love it. And you’ll love knowing exactly what’s in their snack. Give it a try—your pup will thank you with extra cuddles.
Frequently Asked Questions
1. Can I use regular peanut butter?
Yes, but make sure it does not contain xylitol. Xylitol is extremely toxic to dogs. Check the label. Most natural peanut butters are safe.
2. Are these biscuits safe for puppies?
Yes, but break them into smaller pieces. Puppies have smaller mouths and teeth. The biscuits are crunchy, so supervise them at first.
3. How long do homemade dog biscuits last?
In an airtight container at room temperature, about 1 week. In the fridge, up to 2 weeks. In the freezer, several months.
4. Can I substitute the flour?
Yes. Oat flour or coconut flour work well. If using coconut flour, use less because it absorbs more moisture. Start with 1 cup instead of 2.5.
5. My biscuits turned out soft. What did I do wrong?
They likely needed more baking time. Roll the dough thinner next time, or bake for an extra 5 minutes. They harden as they cool, but underbaked biscuits stay soft.