13 Clever Ways to Build a Large Litter Box Enclosure
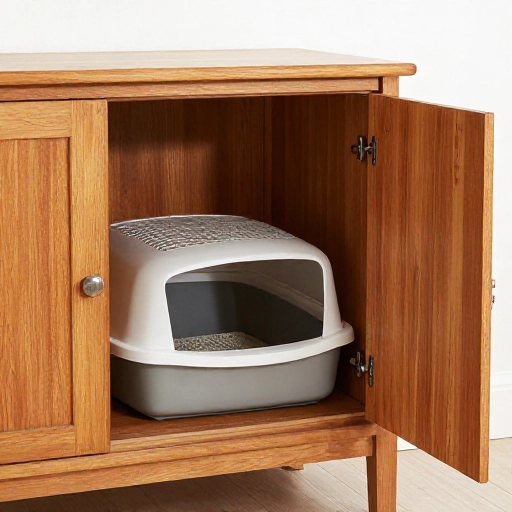
Let’s be honest—nobody loves looking at a plastic litter box sitting in the middle of the living room. But our cats? They love their space. The struggle is real when you have a big kitty (or multiple cats) and the standard tiny hooded boxes just don’t cut it anymore.
That’s where a large litter box enclosure comes in. It hides the mess, contains the smell, and gives your cat some privacy. Plus, it can double as a piece of furniture. I’ve rounded up 13 genius ways to build one that looks great and actually works for your feline friend.
1. The Classic Sideboard Repurpose
Hit up your local thrift store or Facebook Marketplace for an old wooden sideboard or buffet. These pieces have plenty of depth for a big box. Just remove the doors or install a cat door on one side.
Cut a hole in the back for ventilation and slide the litter box right inside. The best part? You get storage on top for cat toys and supplies. It’s a win-win for small spaces.
Add a liner inside to protect the wood from accidents. Use a plastic mat underneath the box for easy cleaning.
2. The DIY Pallet Privacy Screen
If you’re on a tight budget, pallets are your best friend. Sand them down, paint them a bright color, and connect three panels together to form a U-shape around the litter box.
This isn’t a full enclosure, but it gives your cat the privacy they crave while keeping the litter off the walls. It’s lightweight and easy to move when you need to deep clean.
Add a small curtain across the front opening for extra coverage. A tension rod works perfectly here.
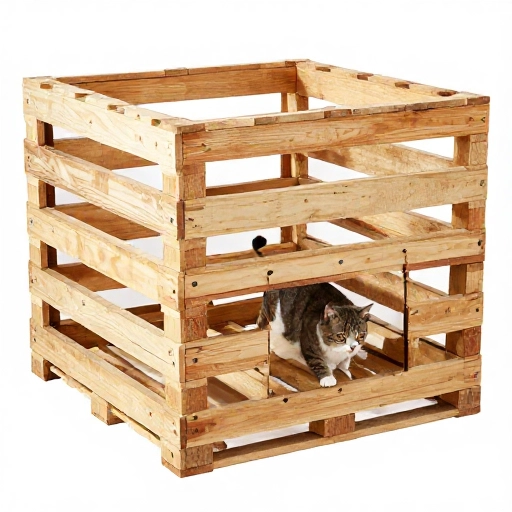
3. The IKEA Hacks: The “Hack” Cabinet
One of the most popular projects out there involves repurposing an IKEA cabinet. The key is to find one that is deep enough for your cat to turn around in. The “Bestå” or “Kallax” units work great.
Build a simple wooden frame inside to lift the litter box off the floor. This makes it easier for senior cats to step up, and it gives you a drawer space below for scooping supplies.
Use a jigsaw to cut a round “cat hole” in the side panel. Sand the edges smooth to prevent snags on fur.
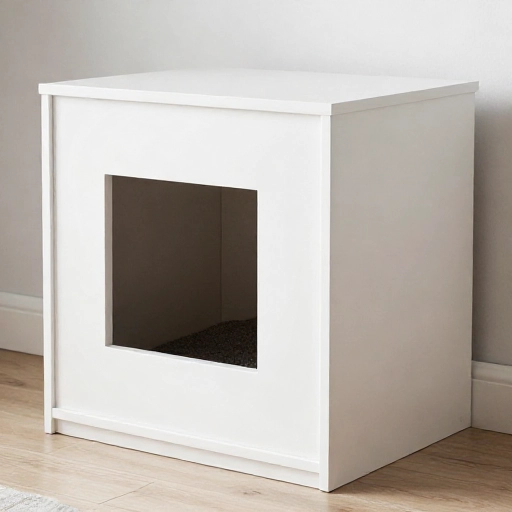
4. The Crate & Barrel Crate Build
Buy a large wooden storage crate from a craft store. These are usually sturdy and have a rustic look that fits farmhouse decor. Turn the crate on its side so the opening faces you.
Add a few small hinges and a door to cover the front. Alternatively, just hang a piece of fabric over the opening. The crate’s natural wood finish hides dust and litter tracks beautifully.
Place a waterproof boot tray inside to catch any stray clumps that fall out.
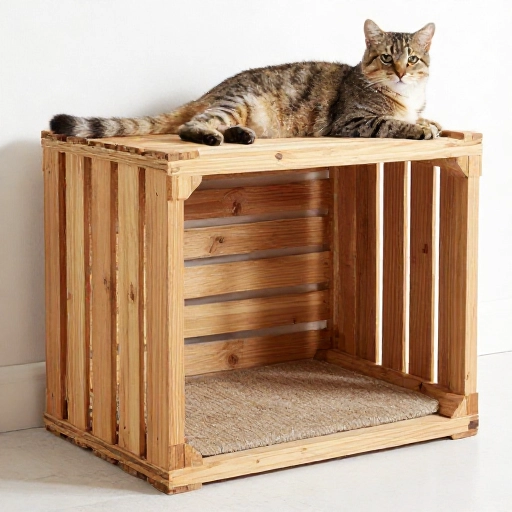
5. The Double-Wide Dog Crate Transformation
Don’t buy a cat cage—buy a large dog crate instead. The kind with the metal wire panels. These are cheap and roomy. Use zip ties to attach fabric panels to the outside for a classier look.
Leave the front door open and drape a curtain over it. The wire structure allows for amazing airflow, which keeps the odor down without needing a fan.
Place a piece of plywood on the top to create a solid surface for plants or decor.
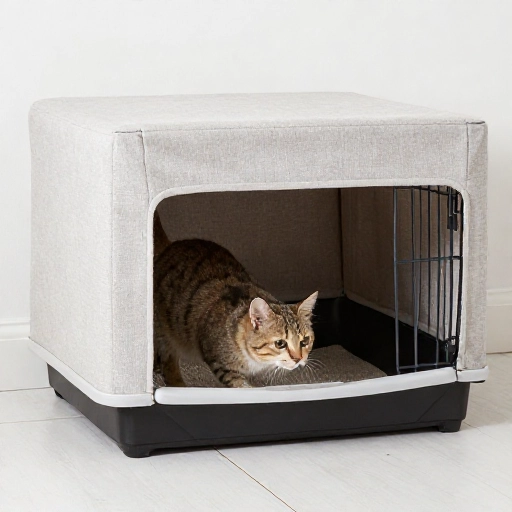
6. The Corner Cabinet Solution
Corners are usually wasted space in a room. Find a corner cabinet or build one using a simple triangular shelf unit. This fits neatly into the corner of your laundry room or hallway.
Cut a hole in the front panel for access. Since corners are tighter, make sure the door opening is big enough for your cat to enter without feeling claustrophobic.
Use a corner-shaped litter box to maximize the interior space.
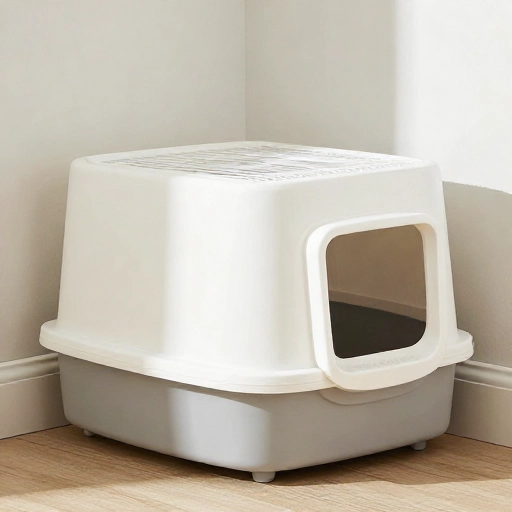
7. The Sonotube Tunnel Enclosure
For a modern, sculptural look, use a large concrete form tube (Sonotube) from the hardware store. These are basically huge cardboard tubes. Paint the outside with a fun geometric pattern.
Place the tube upright and put the litter box inside. Cut a large archway at the bottom for entry. This gives your cat a cozy, cave-like experience.
Top it with a round piece of wood to create a side table. It’s a conversation starter for sure.
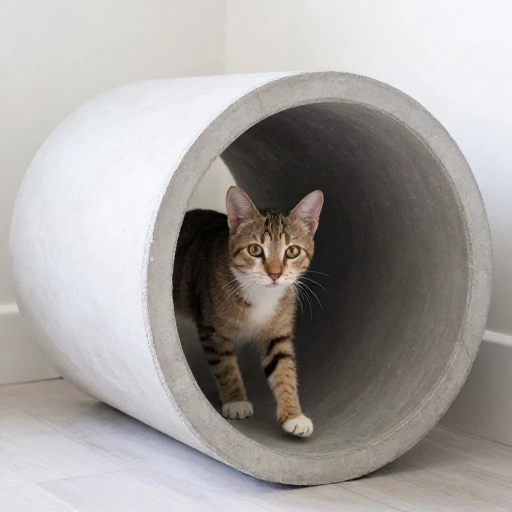
8. The Under-Stairs Hideaway
If you have a staircase, you likely have that awkward triangular space underneath. Use a tension rod and a curtain to close it off. This creates a massive enclosure without building a single wall.
Place the litter box in the deepest part, and use the shallower end for storage. This is perfect for multi-cat households where you need two boxes side-by-side.
Add a small LED motion-sensor light inside so your cat can see at night.
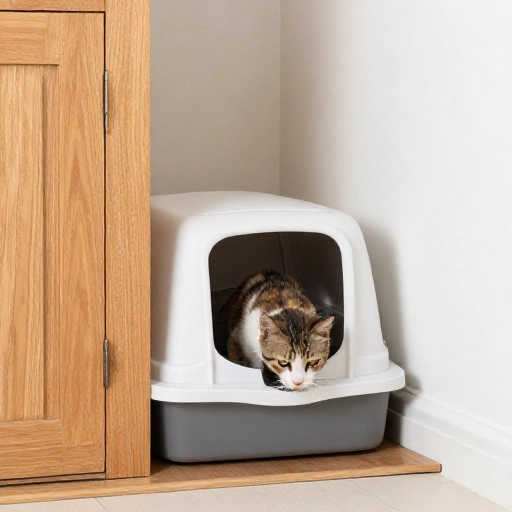
9. The Repurposed Entertainment Center
Old CRT TV stands or entertainment centers are being thrown away all the time. They are perfect for this project because they are deep and sturdy. Remove the heavy glass doors and replace them with a lightweight swinging pet door.
The internal shelves can be removed to create one tall, open space. This works great for tall cats who like to stretch.
Use the media holes in the back to run a ventilation hose if you want to connect it to a window fan.
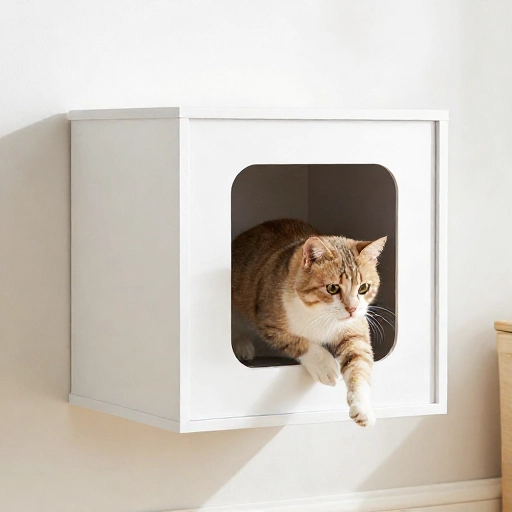
10. The Floating Cabinet Wall Mount
If you’re handy with tools, build a simple open-faced box and mount it to the wall. It’s like a floating shelf, but bigger. This keeps the floor clear for sweeping and makes the room look bigger.
Build a lip on the front edge so the litter box doesn’t slide out. Leave the bottom open or add a thin plywood base.
Paint the outside to match your trim for a seamless built-in look.
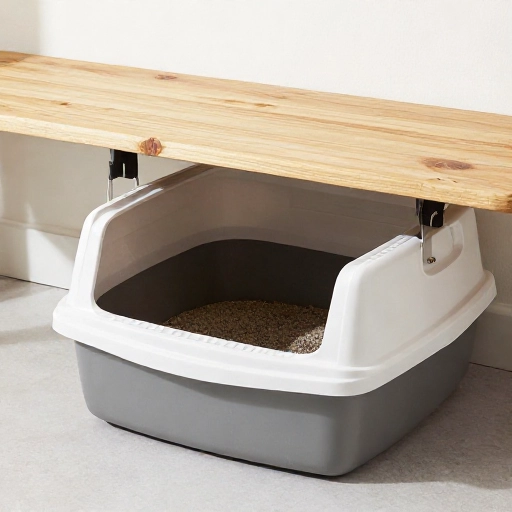
11. The Bench with a Hidden Door
Build a simple wooden bench that sits against the wall. The seat lifts up on hinges. Underneath, you have a large cavity for the litter box.
Cut a hole in the side or front for your cat to enter. When guests come over, they just see a nice place to sit and put on shoes.
Add a strong gas strut to the lid so it stays open while you scoop.
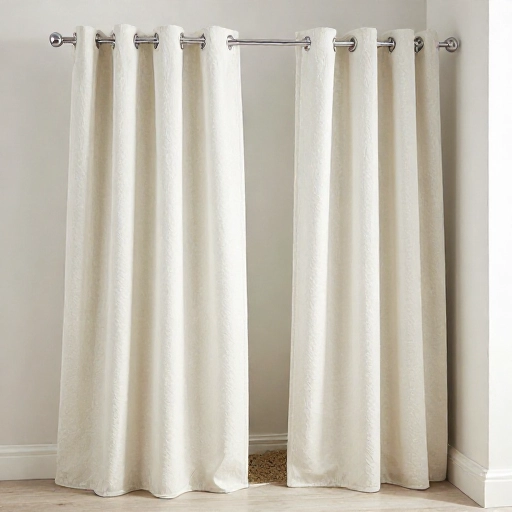
12. The Curtain-Rod Nook
You don’t always need a hard structure. Use a heavy-duty spring tension curtain rod to span a space between two walls or cabinets. Hang a nice fabric shower curtain or a tapestries from it.
This creates a soft, flexible enclosure that is incredibly cheap and easy to change out. It’s perfect for renters who can’t drill holes.
Make sure the fabric is washable. Choose a dark pattern to hide stains.
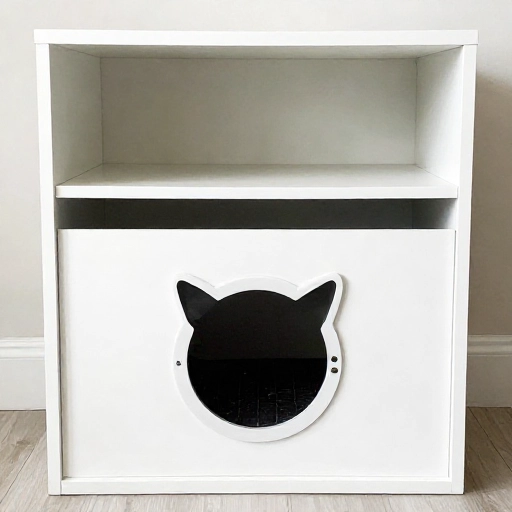
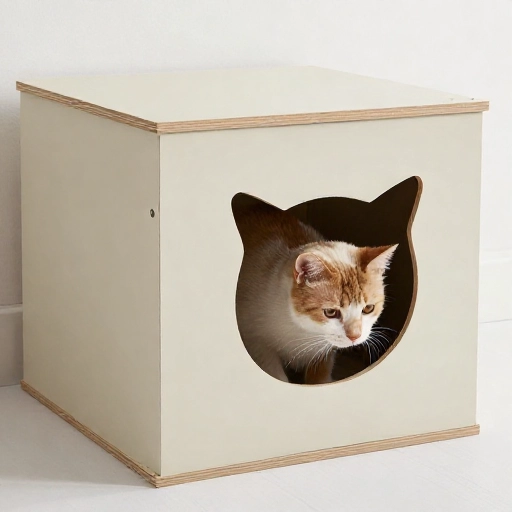
13. The Custom Plywood Box with Cat Flap
This is the most “carpentry” build on the list, but it’s worth it. Build a simple cube from plywood. Cut a circular hole in the front and install a plastic cat flap door.
The flap keeps the litter dust inside while giving your cat total access. Build it to the exact dimensions of your largest storage bin.
Add a hinged roof that lifts up for easy cleaning from the top. This is a game-changer for your back.
Conclusion
Building a large litter box enclosure doesn’t have to be complicated. Whether you’re drilling into wood or just hanging a curtain, the goal is the same: give your cat a private, spacious bathroom while keeping your home looking stylish. Start with a piece of furniture you already own or find a cheap one to upcycle. Your cat will thank you, and so will your nose.
FAQ
What is the minimum size for a litter box enclosure?
Aim for at least 1.5 times the length of your cat. If your cat is 18 inches long, the enclosure should be at least 27 inches deep and wide. Height matters too—your cat should be able to stand up and turn around without hitting their head.
Should I use a lid on the litter box inside the enclosure?
Usually, no. The enclosure acts as the “hood.” Keeping the litter box lid off gives your cat more room to move and prevents them from feeling trapped. It also makes scooping easier.
How do I stop the smell inside a closed cabinet?
Ventilation is key. Install a small vent fan, or simply drill holes in the back of the enclosure and keep the door slightly open. Always use a high-quality, clumping clay litter and scoop daily.
Is it safe to keep the litter box in a wooden enclosure?
Yes, as long as you protect the wood. Use a plastic liner or a waterproof mat underneath the litter box. Wipe up any accidents immediately to prevent the wood from warping and absorbing odors.
My cat is scared of the litter box. How do I introduce the enclosure?
Start by leaving the enclosure door open or off entirely. Place some treats and toys inside. Let your cat explore it at their own pace for a few days. Do not force them in. Once they are comfortable, gradually add the door or flap.