16 Kids’ Cat Crafts for Family Fun: Easy, Adorable, and Purr-fect for Rainy Days
I don’t know about your house, but at mine, “I’m bored” usually shows up about ten minutes after breakfast on a rainy Saturday. That’s when I pull out the craft bin and we go a little cat-crazy. Cats are one of those magical themes that work for toddlers, big kids, and even the adults who are “just helping.”
These 16 kids’ cat crafts are the ones my family keeps coming back to. They use simple supplies you probably already have — paper plates, yarn, socks, and a whole lot of glue sticks. Nothing fancy. Just good messy fun that ends with something cute to hang on the fridge or play with.
Whether you’re planning a cat-themed birthday party, a preschool craft session, or just need a quiet afternoon activity, you’ll find something here. I’ve noted which ones are best for little hands and which ones older kids can really sink their claws into.
1. Paper Plate Cat Faces
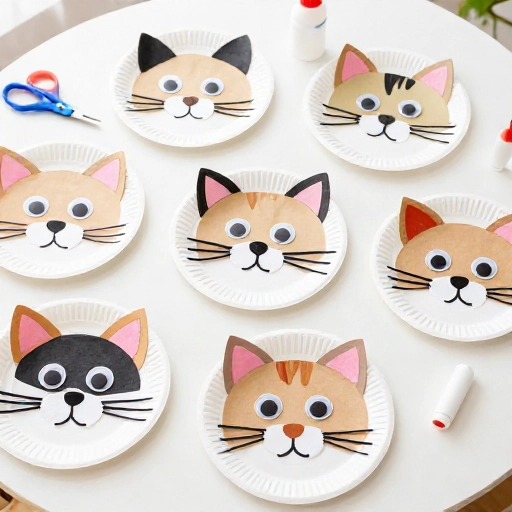
This is the classic for a reason. All you need is a paper plate, some construction paper, googly eyes, and a black marker. I let my kids paint the plate first — orange, gray, calico, whatever they want. While it dries, they cut out triangle ears and a little pink nose.
Once everything is dry, glue the ears behind the plate and add the face. The best part? You can turn it into a mask by taping a popsicle stick to the back. My youngest carried hers around for a whole week, meowing at the mailman.
Tip: Use a paper plate with a rim so the ears have a natural place to sit. For extra fluff, glue on cotton balls around the edges.
2. Toilet Paper Tube Cat Puppets
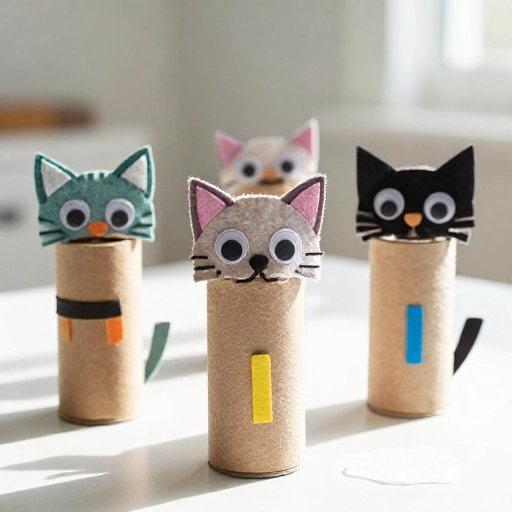
Don’t toss those empty tubes. They make the cutest little cat puppets. Cover the tube with colored paper or paint it, then add triangle ears, googly eyes, and pipe cleaner whiskers. I like to cut a small slit on each side for the whiskers so they stay put.
My kids love putting on puppet shows with these. We’ve had entire cat weddings, cat rock concerts, and a very dramatic cat detective agency. It’s amazing what a cardboard tube and a little imagination can do.
For a sturdier puppet, slide the tube over two fingers and glue a small pom-pom on the front for a nose. Older kids can add a tiny bow tie or a collar made from a pipe cleaner.
3. Cat Ear Headbands
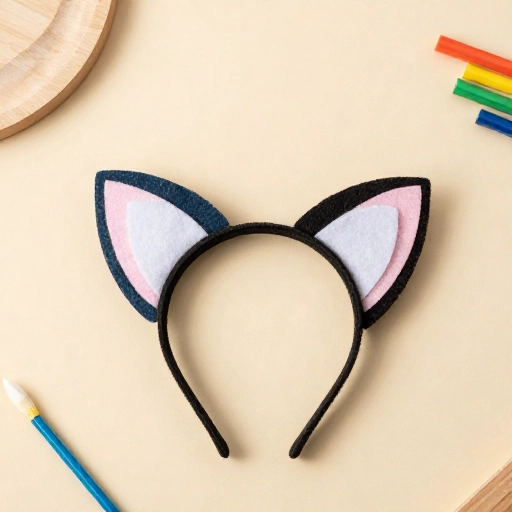
Every cat needs ears. We make ours with a plain headband, black or orange felt, and a hot glue gun (adults only for that part). Cut two triangles from felt, then glue them to the top of the headband. That’s it.
My daughter likes to add extra details — a little pink inner ear, some glitter, or even tiny flowers. You can also use stiff cardboard covered in fabric if you don’t have felt. The headbands are perfect for dress-up, Halloween, or just a Tuesday.
If you want a no-glue version, use self-adhesive felt stickers. They stick right to the headband and peel off cleanly when you want a new look.
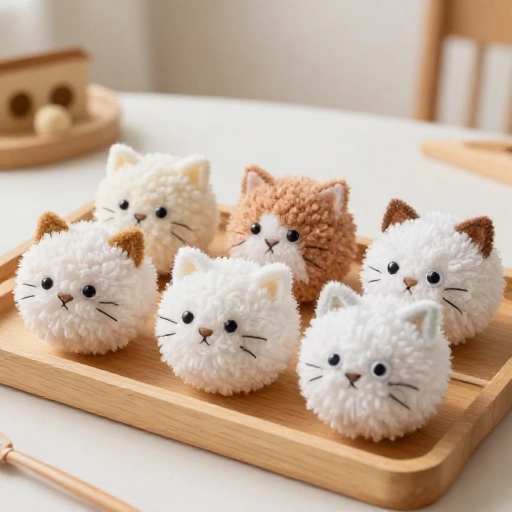
4. Pom-Pom Kittens
Pom-poms are basically cat bodies waiting to happen. We make ours by wrapping yarn around a fork or a small piece of cardboard. Once you tie off the middle and snip the loops, you have a fluffy ball. Glue on tiny felt ears, a pink nose, and googly eyes.
My kids turned a whole family of pom-pom kittens into a little shoebox house. They used fabric scraps for blankets and a bottle cap for a food bowl. It kept them busy for two full hours, which is a personal record.
For a no-fuss version, buy a bag of pre-made pom-poms and just decorate. That works great for toddler hands that aren’t ready for yarn wrapping.
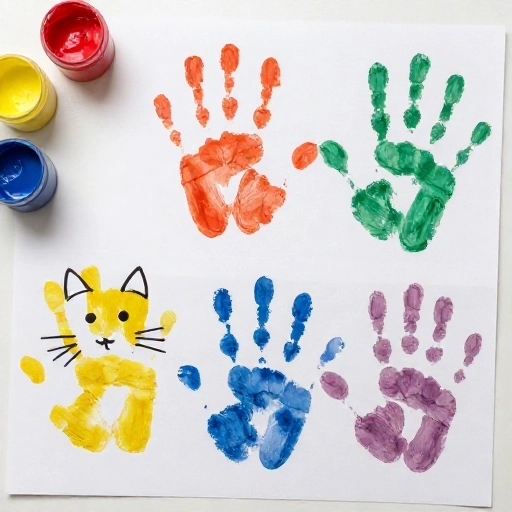
5. Handprint Cats
This one is a keepsake. Paint your child’s hand with washable paint — gray, black, orange, or a mix. Press it onto paper with the fingers pointing up. The palm becomes the cat’s body, and the fingers become the tail and legs. Let it dry.
Then add a circle head at the top of the palm, plus ears, eyes, and whiskers. I’ve made these with my kids every year, and I love seeing how their handprints grow. We frame them or turn them into cards for grandparents.
Tip: Use a paintbrush to apply the paint instead of dipping. It gives you more control and less mess. Baby wipes nearby are a must.
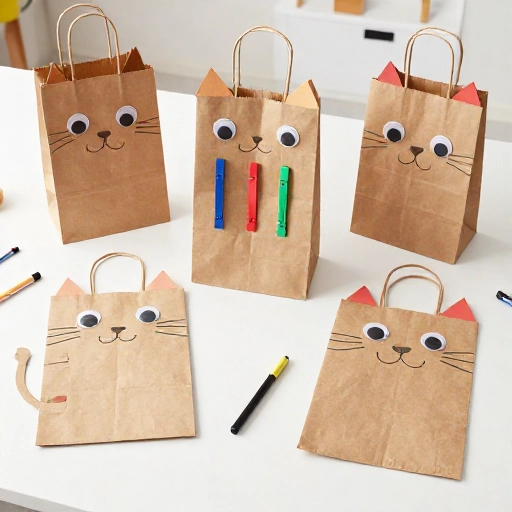
6. Paper Bag Cat Puppets
Brown paper lunch bags make the best puppets because they already have a fold for the mouth. Decorate the flat bottom as the cat’s face, then add ears and whiskers. The flap folds up and down so the cat can “talk.”
My son loves making his cat puppet “eat” things — mostly toy mice and my patience. We use markers, scrap paper, and yarn for whiskers. You can also glue on a little felt tongue for extra silliness.
These are great for story retelling. Read a cat book together, then let your kids act it out with their puppets. It builds language skills without them even noticing.
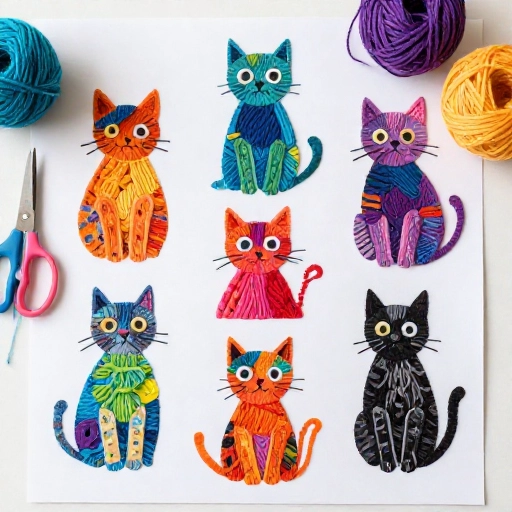
7. Yarn Collage Cats
If you have a bag of yarn scraps, you have a craft. Draw a simple cat outline on cardstock — a circle head, oval body, triangle ears, and a curvy tail. Then let your child fill it in with yarn pieces.
We use a paintbrush to spread white glue inside the outline, then press down short strands of yarn. It’s a sensory-rich activity that keeps little fingers busy. The finished collage looks like a fuzzy, textured painting.
Older kids can get fancy with color patterns — stripes, spots, or a rainbow cat. For a quicker version, use yarn stickers or cut felt strips instead.
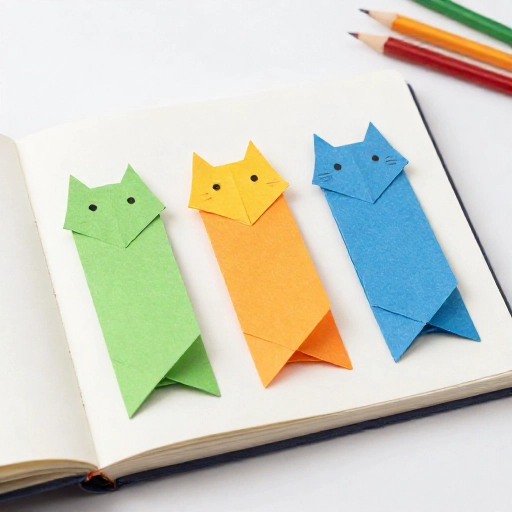
8. Origami Cat Bookmarks
This is my go-to for slightly older kids. You fold a square piece of paper into a corner bookmark — it’s a simple origami shape that slips over the page. Then you decorate the top to look like a cat face.
We add triangle ears, tiny eyes, and a little nose. My daughter made a whole set for her library books. She even color-coded them: orange for adventure, black for mystery, calico for everything else.
If origami feels tricky, you can find pre-made corner bookmark templates online (but I just draw the shape on cardstock and cut it out). It’s forgiving and fun.
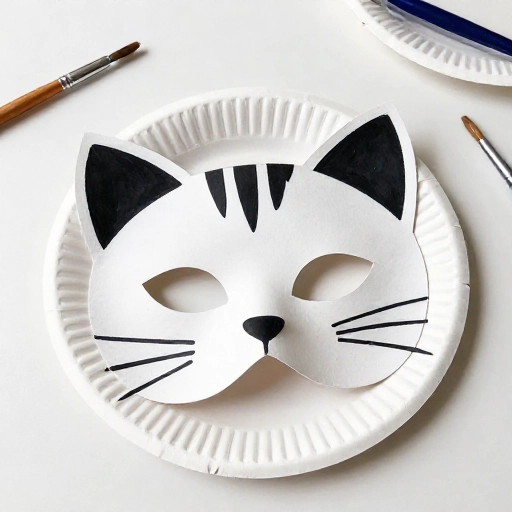
9. Paper Plate Cat Mask
Similar to the cat face, but this one is meant to be worn. Cut two eye holes in a paper plate. Paint the plate, then glue on ears, a nose, and whiskers. Punch a hole on each side and tie elastic string or yarn to fit your child’s head.
My kids wore these for a cat parade around the living room. We played “cat and mouse” and “sleeping kittens” (that one is just lying on the floor, which I fully support).
For a sturdier mask, use a thick paper plate or two plates glued together. Glue a craft stick on the side if you don’t want to deal with elastic.
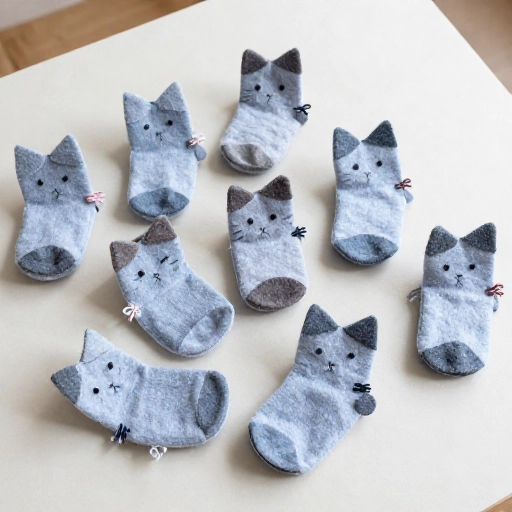
10. No-Sew Sock Cat Toys
Got a lonely sock missing its mate? Turn it into a cat toy. Stuff the toe with cotton balls or fabric scraps, then tie off the end with a hair tie or rubber band. Add a face with permanent markers. You can also glue on felt ears and a tail.
We made a whole litter of these. My kids named them and gave them personalities. They’re soft, squishy, and perfect for throwing at each other (gently, I hope).
If you want to add catnip for a real cat, leave a small opening and stuff in a pinch, then tie tightly. But for kids, plain stuffing is just fine.
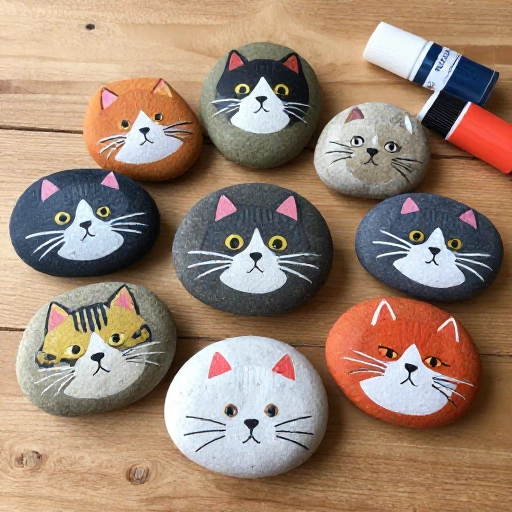
11. Painted Rock Cats
Go on a rock hunt first — that’s half the fun. Pick smooth, flat rocks. Wash and dry them. Then paint the whole rock in a solid color. Once dry, add ears, eyes, whiskers, and a little nose with a smaller brush or paint pen.
My kids made a “cat rock garden” by the front step. Neighbors actually stopped to ask about them. It’s a simple way to spread a little joy and get outside time in the same afternoon.
Use acrylic paint and seal with a clear spray if you want them to survive the weather. For indoor rocks, regular craft paint is fine.
12. Cat Bookmark Corners (Again, But Easier)
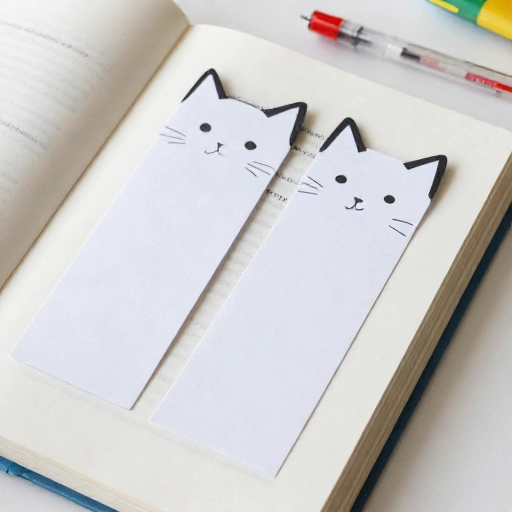
Okay, I know I already mentioned origami bookmarks, but this version is for the kids who just want to glue things. Cut a triangle from cardstock. Fold the bottom point up to make a pocket, then glue the sides. Decorate the front as a cat face.
It’s basically a pocket that slides over the corner of a page. My son made one with a big goofy grin and a missing tooth. He was so proud.
These are great for party favors. Set up a station with pre-cut triangles, googly eyes, and markers. Kids can make one in under five minutes.
13. Cat Paper Chains
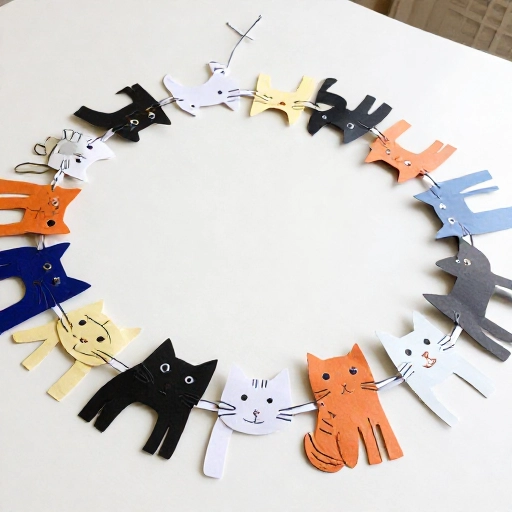
Paper chains are timeless, but we gave them a cat twist. Cut strips of paper, then draw a cat face on one end of each strip. Loop them together and tape or glue. The faces peek out from the chain like a row of curious kittens.
We hung ours across the mantel for a cat-themed birthday party. My daughter insisted on making 20 links because “cats have nine lives, so we need at least nine cats.” Solid logic.
For a faster version, use a cat face paper punch or stickers. You can also write a cat joke on each link for a fun countdown chain.
14. Cat Windsock
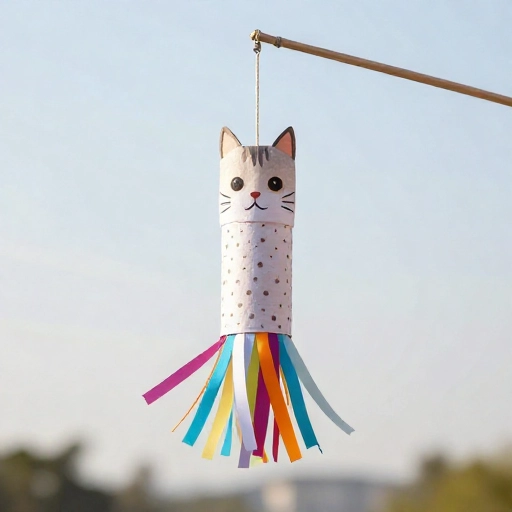
This one moves and looks adorable on a porch. Start with a paper cup or a cardboard tube. Paint it, then glue on a cat face. Cut long strips of tissue paper or crepe paper for the tail and legs, and tape them to the bottom.
Hang it with string. When the wind blows, the streamers dance. My kids love checking on it every morning to see which way the “cat tail” is pointing.
Tip: Use a plastic cup for durability outdoors, or a paper cup for indoor play. Add a pipe cleaner handle for easy hanging.
15. Cat Lacing Cards
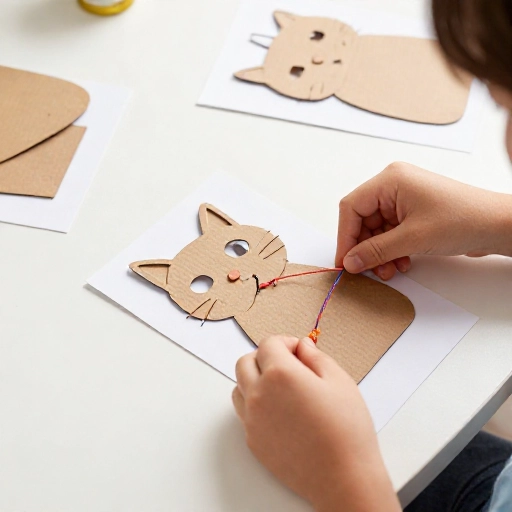
This is a quiet-time winner. Cut a cat shape from thick cardstock or a cereal box. Punch holes around the outline with a hole punch. Tie a piece of yarn to one hole and wrap the end with tape to make a “needle.”
Then let your child lace the yarn in and out of the holes. It builds fine motor skills and focus. My preschooler worked on hers for 20 minutes without a single complaint. That’s a win.
Decorate the cat first with markers or stickers. You can also make a set of three — one for each color — and store them in a zip-top bag for restaurant trips.
16. Decorated Cat Treat Jar
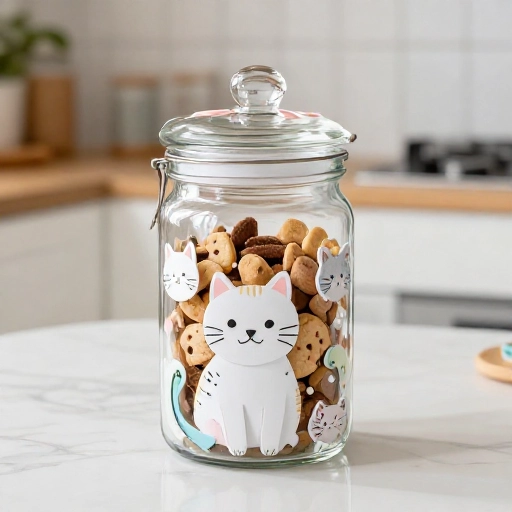
This one is for the cat lovers who want to include their real pet. Start with a clean glass jar (like a mason jar). Paint the lid or wrap it with fabric. Then decorate the outside with cat stickers, washi tape, or a label that says “Kitty Treats.”
We filled ours with homemade cat treats (just tuna and flour baked into little bites). My kids loved being in charge of giving the cat her snacks from the jar they made. The cat loved it too.
If you don’t have a cat, you can use the jar for craft supplies or as a piggy bank. The decorating is the fun part.
Wrapping Up Our Cat Craft Adventure
I hope one of these 16 kids’ cat crafts sparks an afternoon of fun at your house. The best part is that none of them require a trip to a specialty store or a degree in fine arts. You can start with what you have — paper plates, socks, yarn, and a little bit of patience.
My advice? Pick two or three that match your kids’ ages and energy levels. Set up a craft station with all the supplies, put on some cat-themed music, and let them go. The mess is temporary. The memories (and the goofy cat faces) last a lot longer.
Frequently Asked Questions
Q: What age are these cat crafts best for?
A: Most work for ages 3 and up with some adult help. Toddlers can do handprint cats, paper plate faces, and lacing cards. Older kids (7+) can handle origami, sock toys, and painted rocks on their own.
Q: What basic supplies should I keep on hand?
A: Paper plates, construction paper, glue sticks, washable paint, googly eyes, yarn, pipe cleaners, markers, and empty toilet paper tubes. That covers about 90% of these ideas.
Q: How do I make these crafts more educational?
A: Add counting (how many whiskers?), color mixing (what happens when you mix red and yellow?), and storytelling. Have your child describe their cat’s personality or make up a story about where it lives.
Q: Are these crafts messy?
A: Some are messier than others. Painted rocks and handprint cats need a wipeable tablecloth. Paper bag puppets and lacing cards are nearly mess-free. Choose based on how much cleanup you’re up for.
Q: Can I use these for a cat-themed birthday party?
A: Absolutely. Set up three or four stations with different crafts. Paper plate masks, cat ear headbands, and bookmark corners are quick and easy for groups. Put everything in labeled bins so kids can help themselves.