Easy No Bake Dog Treats: 3-Ingredient Peanut Butter & Pumpkin Recipes Your Pup Will Love
Let’s be honest—our dogs deserve the very best, but we don’t always have time to bake. That’s where no bake dog treats come in. They’re quick, simple, and made with ingredients you probably already have in your pantry.
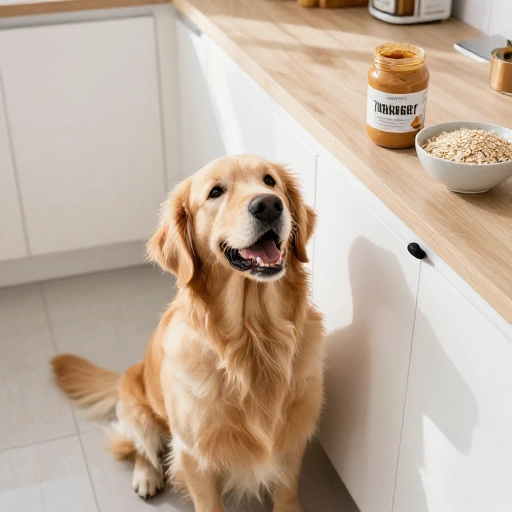
I started making these when my golden retriever, Charlie, gave me those hopeful eyes while I was mixing up a batch of oatmeal cookies. I thought, why not make something just for him? No oven, no fuss, and no weird preservatives. Just real food, shaped into little bites of love.
Whether you’re looking for a healthy training reward or a fun afternoon project with the kids, these no bake recipes are a total win. Your pup will go crazy, and you’ll feel great knowing exactly what’s in every bite.
Why Make No Bake Dog Treats?
Making your own dog treats isn’t just for fancy pet parents. It’s practical, affordable, and gives you full control over what goes into your pup’s belly. No bake treats are even better because they’re ready in minutes—perfect for busy weekdays or last-minute spoiling.
Plus, many store-bought treats contain fillers, artificial flavors, or too much salt. When you make them at home, you can tailor the ingredients to your dog’s specific needs, like joint health or sensitive tummies. And honestly? The tail wagging is the best payment.
Kitchen Equipment & Tools You’ll Need
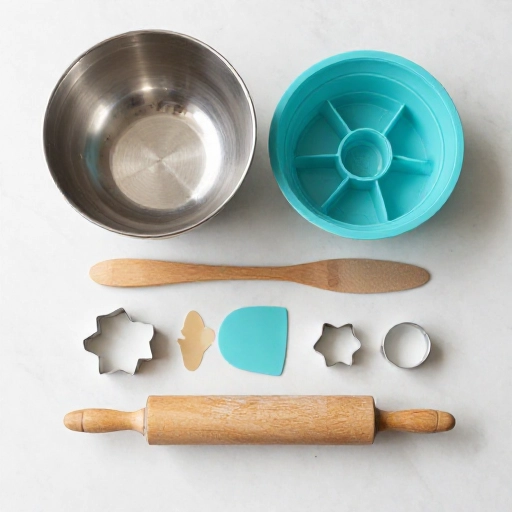
You don’t need a fancy kitchen to whip up these treats. Most of these tools are probably already in your drawers. Here’s what I use:
- A mixing bowl (medium or large works fine)
- A wooden spoon or silicone spatula
- Measuring cups and spoons
- Parchment paper or a silicone baking mat
- A cookie scoop or tablespoon for portioning
- A fork for flattening or decorating
- Airtight container for storage
That’s it. No mixer, no rolling pin, no stress. If you have a small cookie cutter, you can also press the mixture into a sheet and cut shapes—but I usually just roll them into balls.
Ingredients List & Safe Substitutions
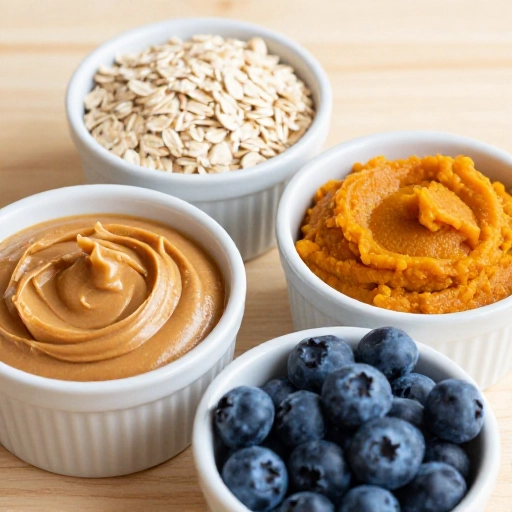
Here’s the beauty of no bake dog treats: you only need a few simple ingredients. My go-to base is peanut butter, pumpkin, and oats. But let’s talk swaps so you can customize.
- Peanut butter: Use unsalted, no added sugar, and xylitol-free. Xylitol is toxic to dogs. If your dog has allergies, try sunflower seed butter.
- Pumpkin puree: Plain canned pumpkin, not pumpkin pie filling. It’s great for digestion. Sweet potato puree works too.
- Rolled oats: Old-fashioned or quick oats are both fine. For grain-free, use oat flour or coconut flour.
- Flaxseed meal: Optional, but adds omega-3s for a shiny coat. Chia seeds work too.
- Coconut oil: Helps with binding and adds healthy fats. Use sparingly if your dog is prone to weight gain.
Always check labels. Dogs are smaller than us, so even a little bit of a bad ingredient can cause trouble.
Step-by-Step Instructions: How to Make No Bake Dog Treats
Ready to get your hands messy? Here’s my easiest method that never fails.
- Mix the wet ingredients: In a bowl, combine 1 cup peanut butter and 1/2 cup pumpkin puree. Stir until smooth.
- Add dry ingredients: Fold in 2 cups rolled oats and 2 tablespoons flaxseed meal (if using). Mix until a thick dough forms.
- Adjust consistency: If the dough is too sticky, add a few more oats. Too dry? Add a teaspoon of coconut oil or water.
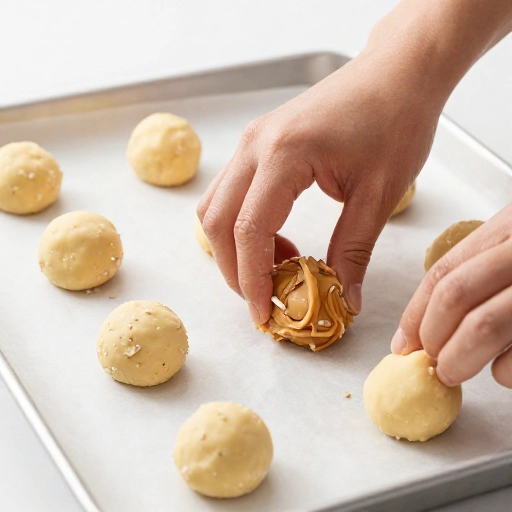
- Shape the treats: Scoop out tablespoon-sized portions and roll into balls. Flatten slightly with a fork for a classic cookie look.
- Chill: Place on a parchment-lined tray and refrigerate for at least 30 minutes. This helps them firm up.
- Serve: Give one to your pup and watch the magic happen. Store the rest in the fridge.
That’s it—six steps to happy doggy snacks. You can also freeze these for longer storage, which I’ll cover next.
Feeding Guidelines, Serving Size & Storage Tips
Treats are treats, not meals. Even healthy homemade ones should be given in moderation. For a small dog (under 20 lbs), one treat per day is plenty. Medium dogs can have two, and large breeds might enjoy up to three—but keep an eye on their overall calorie intake.
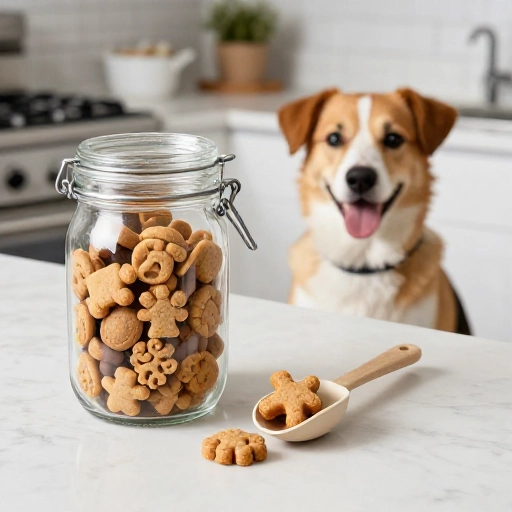
Storage: Keep these no bake treats in an airtight container in the refrigerator. They’ll stay fresh for up to 10 days. If you want to make a big batch, pop them in the freezer for up to 3 months. Just thaw a few at a time in the fridge overnight.
Pro tip: If the treats get too soft, let them sit at room temp for a few minutes before serving. And always have fresh water nearby—some dogs get thirsty after peanut butter!
Final Verdict & Summary
These no bake dog treats have become a staple in my house. They’re ridiculously easy, made with ingredients I trust, and my dog literally does a happy dance every time I open the fridge. No oven, no mess, no guilt.
I love that I can switch up the flavors—sometimes I add a pinch of cinnamon or a spoonful of mashed banana. The possibilities are endless, and the effort is minimal. If you’re new to homemade treats, start with this recipe. It’s foolproof.
Your dog will thank you with sloppy kisses and tail wags. And honestly, that’s the best review you can get.
Frequently Asked Questions
Can I use crunchy peanut butter?
Absolutely! Crunchy peanut butter adds a little texture that some dogs love. Just make sure it’s xylitol-free and low in salt.
Are no bake dog treats safe for puppies?
Yes, as long as the ingredients are puppy-safe. Avoid large chunks or hard pieces, and always supervise your puppy when they’re eating treats for the first time.
Can I add protein powder or supplements?
You can, but check with your vet first. Some supplements (like certain herbs or high-dose vitamins) aren’t safe for dogs. Plain, unflavored collagen powder is usually fine.
Why are my treats too crumbly?
That usually means the dough is too dry. Add a little more peanut butter or a splash of water until it holds together. Chilling also helps bind everything.
How do I know if a treat has gone bad?
If it smells off, looks moldy, or feels slimy, toss it. Homemade treats don’t have preservatives, so trust your nose. When in doubt, throw it out.