How to Make Dry Cat Food at Home
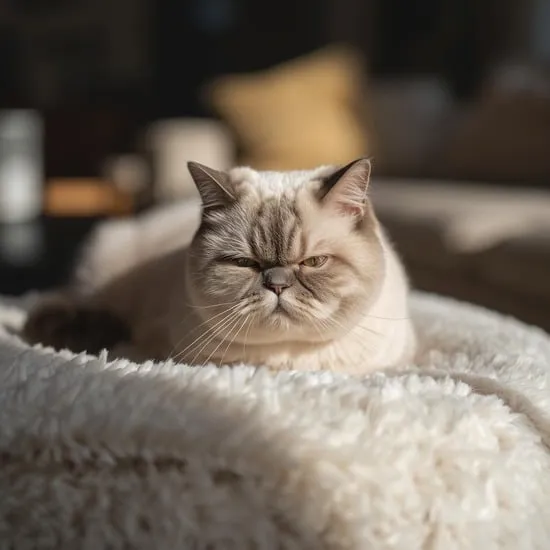
I never thought I’d be making my own cat kibble until my picky orange tabby, Mochi, turned his nose up at every store-bought bag I tried. That’s when I decided to take matters into my own hands—literally. Making dry cat food at home sounded intimidating at first, but once I figured out the basics, it became a fun weekend project that saves money and keeps Mochi healthy.
Homemade dry cat food lets you control exactly what goes into your cat’s bowl. No mystery meats, no weird preservatives, just real ingredients you recognize. Plus, you can tailor the recipe to your cat’s specific needs, whether they need more protein, fewer carbs, or just something that smells irresistible. Trust me, once you see your cat gobble up food you made with your own hands, you’ll never look back.
This recipe is designed to be simple, affordable, and nutritionally balanced for adult cats. I’ve tested it on three different cats (including my neighbor’s fussy Persian) and they all gave it two paws up. Let’s get started!
Equipment You’ll Need
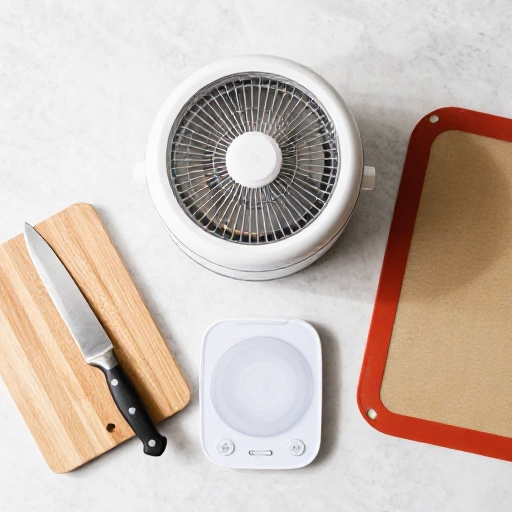
Before we dive in, let’s gather the tools. Don’t worry—you probably already have most of these in your kitchen. A good food processor or high-speed blender is your best friend here. You’ll need it to grind meats and mix everything into a smooth dough.
Grab a large mixing bowl, a rolling pin, and a baking sheet lined with parchment paper. A sharp knife or pizza cutter helps you cut the kibble into tiny, cat-friendly pieces. A cooling rack is nice to have, but a clean counter works too. Finally, an airtight container will keep your homemade kibble fresh for weeks.
Ingredients That Make It Work
Here’s what I use for a batch that lasts about two weeks for one cat. Feel free to adjust portions based on your cat’s size and appetite. Always check with your vet before making big diet changes.
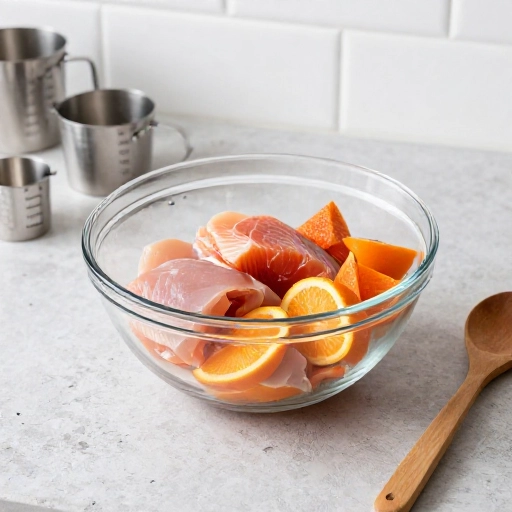
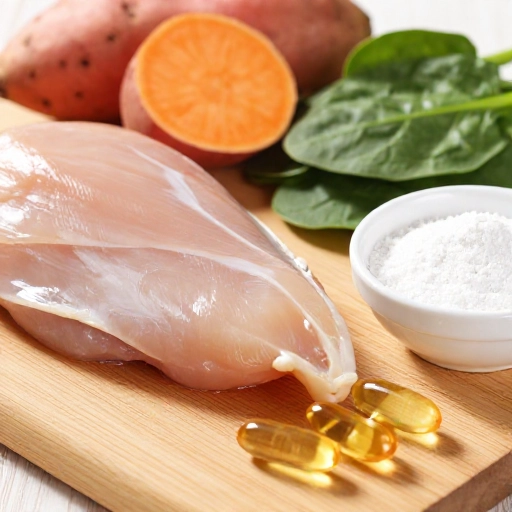
Start with one pound of ground chicken or turkey (dark meat is best for fat content). Add one chicken liver for extra nutrients—cats love the taste. Mix in one egg (shell included, ground up), two tablespoons of finely grated carrots, and a teaspoon of fish oil for omega-3s. A pinch of salt is optional, but I skip it. For binding, use a quarter cup of oat flour or finely ground oats.
That’s it. No weird supplements, no hard-to-find powders. Just real food that your cat’s body recognizes. If your cat has allergies, swap the chicken for rabbit or duck, and use quinoa flour instead of oats.
How to Make It: Step by Step
First, preheat your oven to 350°F. While it heats up, wash your hands and work surface. Cats are sensitive to bacteria, so cleanliness matters here.
In your food processor, pulse the chicken liver until it’s a paste. Add the ground meat, egg (shell and all), grated carrots, fish oil, and oat flour. Blend until you get a stiff, slightly sticky dough. If it’s too wet, add a tablespoon more flour. Too dry? Add a splash of water. The dough should hold together when pinched.
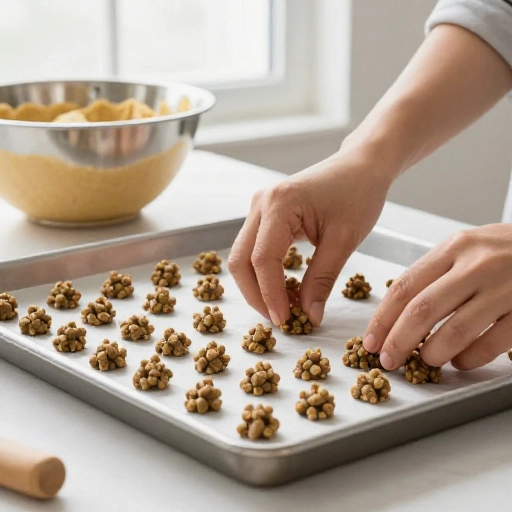
Sprinkle a little oat flour on your counter and roll the dough out to about a quarter-inch thick. Use a pizza cutter or knife to slice it into tiny squares—think the size of your cat’s regular kibble. Place them on your parchment-lined baking sheet, leaving a tiny gap between pieces.
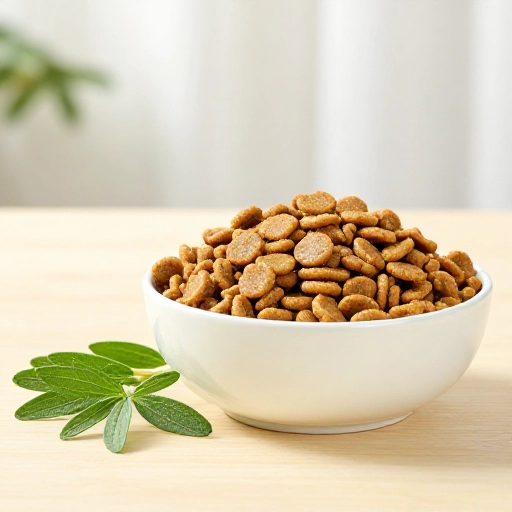
Bake for 15 minutes, then flip each piece with a spatula. Bake another 10 to 15 minutes until they’re golden and firm. Let them cool completely on a rack. They’ll harden more as they cool. Store in an airtight container in the fridge for up to three weeks, or freeze for three months.
Why This Recipe Works
I’ve tried a dozen homemade cat food recipes, and this one wins because it’s balanced without being complicated. The egg shell provides calcium, the liver gives vitamin A and iron, and the fish oil supports a shiny coat. The oat flour adds fiber without spiking blood sugar like rice or corn would.
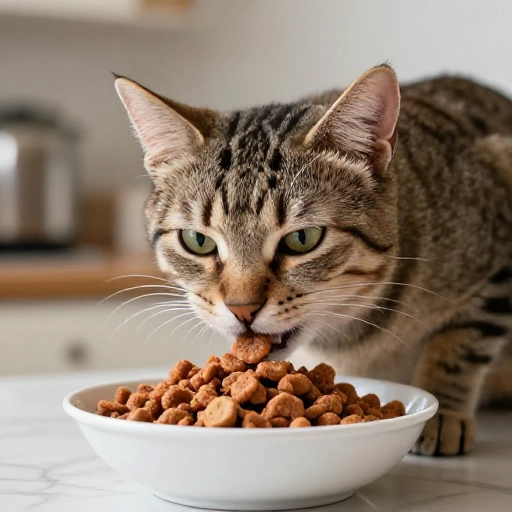
Most importantly, it tastes good to cats. The first time I made it, Mochi followed me around the kitchen meowing. He actually tried to steal a piece off the cooling rack! That’s when I knew I’d nailed it. Plus, his coat got softer within a week, and his litter box visits became more regular. My vet even commented on how healthy he looked at his last checkup.
Conclusion
Making dry cat food at home isn’t as hard as it sounds. Once you get the hang of it, you’ll wonder why you didn’t start sooner. Your cat gets fresher, cleaner food, and you get the peace of mind that comes from knowing exactly what’s in their bowl. Give it a try this weekend—your cat will thank you with extra purrs and head bumps.
Remember, every cat is different. Watch how yours reacts and adjust the recipe as needed. And if you have questions, keep reading—I’ve answered the most common ones below.
Frequently Asked Questions
Can I use a different meat?
Absolutely! Turkey, rabbit, or even ground beef work well. Just keep the fat content moderate—too lean and the kibble will be dry, too fatty and it might upset your cat’s stomach.
How long does homemade dry cat food last?
Stored in an airtight container in the fridge, it stays fresh for up to three weeks. In the freezer, it lasts about three months. I usually make a double batch and freeze half.
Do I need to add supplements?
This recipe is balanced for occasional feeding or as a regular diet if your vet approves. For long-term use, ask your vet about adding a feline-specific multivitamin or taurine supplement.
My cat won’t eat it. What should I do?
Try warming the kibble slightly in the microwave for 10 seconds—it releases the aroma. You can also crumble a little over their old food to help them transition. Patience is key; some cats need a few days to accept new textures.
Can I make this without a food processor?
Yes, but it’s harder. Finely mince the liver and mix everything by hand until well combined. The texture won’t be as uniform, but your cat won’t mind. A potato masher can help break up clumps.