15 DIY Female Dog Heat Diaper Ideas That Actually Stay Put (Easy & Washable!)
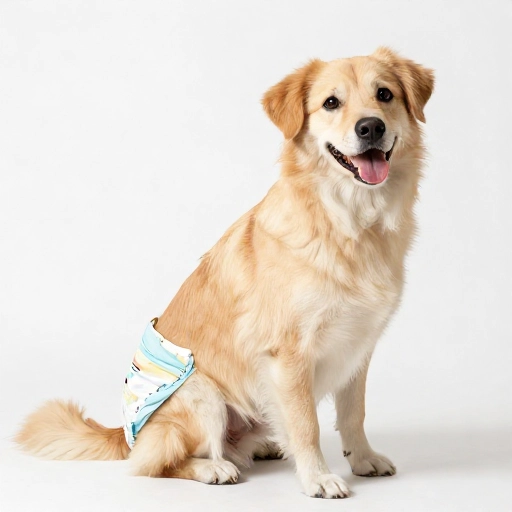
If you’ve ever owned a female dog who hasn’t been spayed, you know the “heat” cycle can be a messy adventure. I remember the first time my golden retriever, Daisy, went into heat—I came home to find spots on my new white sofa! That’s when I realized I needed a solution that was comfy for her and easy for me. Store-bought diapers are convenient, but they can get pricey, especially when you’re changing them multiple times a day for three weeks.
That’s why I started experimenting with DIY dog diapers. Not only are they budget-friendly, but you can also customize them to fit your dog’s unique shape perfectly. Whether you’re a sewing pro or a total beginner, I’ve rounded up 15 brilliant DIY ideas that range from no-sew solutions to fully washable fabric diapers. Your pup will stay clean, your floors will stay spotless, and your wallet will thank you!
Why Make a DIY Heat Diaper for Your Pup?
Making your own heat diapers isn’t just about saving a few bucks (though that’s a huge bonus!). It’s about comfort and control. Commercial diapers often use synthetic materials that can trap heat and moisture, leading to skin irritation. When you DIY, you can choose soft, breathable cotton that allows your dog’s skin to breathe naturally.
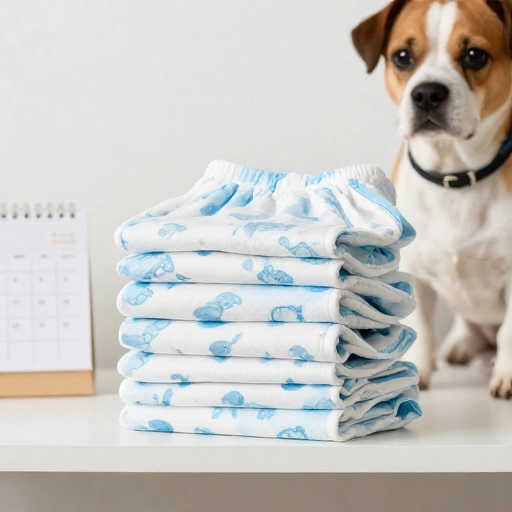
Another big reason is fit. Every dog is built differently. Some have thick waists, others have skinny hips. A DIY diaper lets you tailor the fit so there are no gaps, leaks, or annoying bunching. Plus, having a stash of 15 different styles means you’ll always have one ready while the others are in the wash. It takes the stress out of a messy situation and keeps your home feeling fresh.
Finally, DIY diapers are eco-friendly. You’ll drastically reduce the amount of waste you’re sending to the landfill. With reusable options, you can simply toss them in the washing machine and reuse them for years—perfect for dogs who have irregular cycles or for multi-dog households.
Essential Tools & Equipment for Your DIY Project
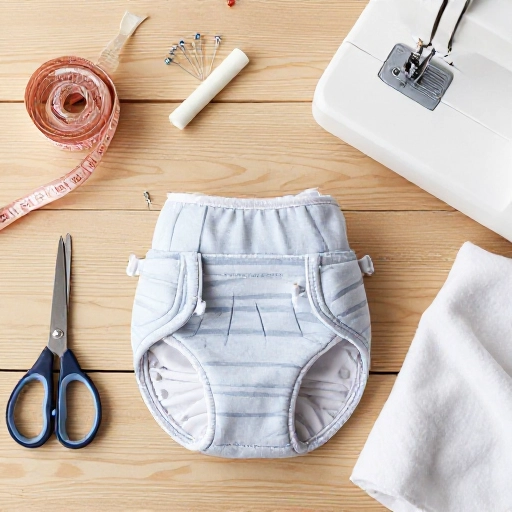
Before you start crafting, let’s get your workspace ready. You don’t need a fancy sewing machine for all of these, but having a few basic tools will make the process much smoother. I like to keep a dedicated “doggy sewing kit” so I’m not digging through my craft supplies every time.
Here’s what I recommend having on hand:
- Fabric scissors: A sharp pair makes cutting cotton a breeze.
- Measuring tape: Crucial for getting your dog’s waist and hip measurements accurate.
- Sewing machine: Optional but helpful for the sturdier designs. Hand stitching works too!
- Pins or clips: To hold fabric layers together while sewing.
- Pencil or fabric marker: For tracing patterns.
- Iron: Pressing seams makes the diaper look professional and lie flat.
- Ruler: For straight edges and hemming.
If you’re going the no-sew route, you’ll just need fabric glue, Velcro strips, and a pair of scissors. For the “convert a human shirt” hack, you won’t need anything but a shirt and scissors! It’s amazing what you can whip up with minimal supplies.
Ingredients & Materials: Choosing the Right Fabrics
Just like baking a cake, the quality of your “ingredients” matters! For dog diapers, the material is everything. You want something absorbent on the inside and waterproof on the outside to protect your furniture.
Here are my go-to materials for DIY dog diapers:
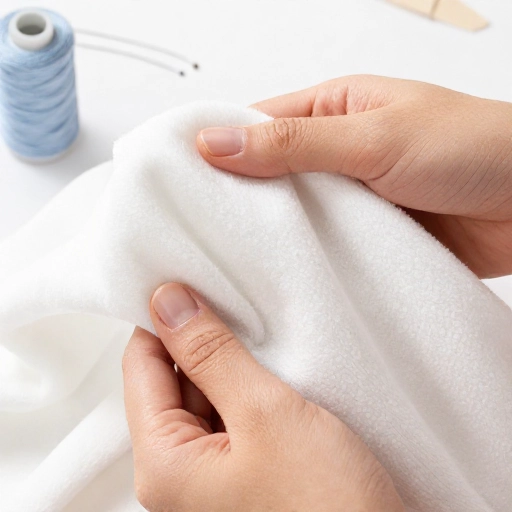
- Aspen or cotton flannel: Soft, highly absorbent, and gentle on sensitive skin. Perfect for the inner lining.
- Cotton prefold cloths: These are thick, thirsty, and easy to fold into place. They make great inserts.
- PUL (Polyurethane Laminate) fabric: This is the waterproof outer layer. It’s the same stuff used in baby cloth diapers. It locks moisture in without feeling plasticky.
- Fleece: Great for the inner layer too, as it wicks moisture away from the skin, keeping your dog dry.
- Velcro or snaps: For a secure, adjustable closure around the waist.
- Elastic: For around the leg holes to prevent leaks.
For a quick emergency fix, a clean cotton bandana or an old t-shirt works wonders. Just remember to change it frequently. Avoid materials like nylon or polyester for the inner layer, as they can cause friction and skin chafing. Stick to natural, breathable fibers for comfort.
How to Make It: Step-by-Step Simple Guides
Alright, let’s get to the fun part! Here are three of my favorite methods to make a heat diaper, ranging from super simple to slightly more durable. Start with the bandana trick if you’re in a pinch, then graduate to the sew-in version when you have more time.
Method 1: The No-Sew Bandana Wrap (5 Minutes)
- Lay a large cotton bandana flat. Fold it diagonally to form a triangle.
- Place the triangle under your dog’s tail, with the point facing up towards her back.
- Bring the two side corners up to her waist and tie them together snugly on her back.
- Tuck the tail point over the knot to create a “pocket” that holds a sanitary pad or folded cloth.
Method 2: The Converted Baby Onesie (10 Minutes)
- Grab a clean cotton baby onesie that fits around her waist.
- Cut a small hole for her tail at the bottom seam.
- Place the diaper pad or a folded cloth inside the onesie.
- Put the onesie on your dog, pulling her tail through the hole, and snap it closed on her back.
Method 3: The Sewn Fabric Diaper (30 Minutes)
- Using a marker, trace a “T” shape onto your fabric. The top of the T wraps around the waist, and the vertical part goes between the legs.
- Cut out two layers (one cotton lining, one PUL outer).
- Place them together with right sides facing each other, and sew around the edges, leaving the waistband open.
- Turn it right side out, insert an absorbent pad, and add Velcro to the waistband ends for closure.
Whichever method you choose, always check the fit. You should be able to slip two fingers between the diaper and her belly—snug but not tight.
Storage & Serving: Keeping the Diapers Fresh & Managing Cycles
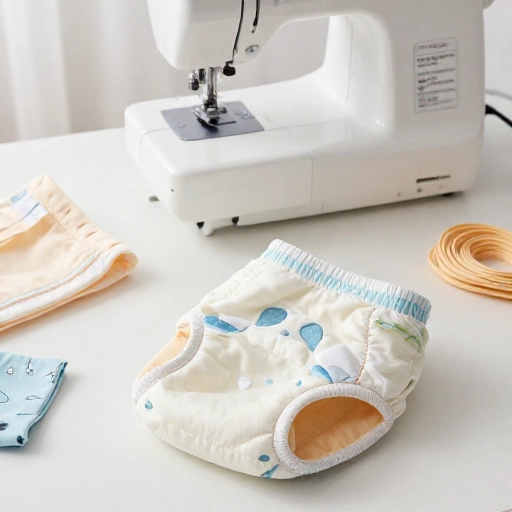
Once you’ve made your stash, it’s important to manage them properly to avoid bacterial growth. I like to keep a “wet bag” or a lidded bucket with baking soda in the laundry room. As soon as a diaper comes off, I give it a quick rinse in cold water and toss it in the bucket to wait for wash day.
For washing, use a gentle, fragrance-free detergent. Hot water is best for sanitizing, and you can add a cup of white vinegar to the rinse cycle to naturally break down odors and soften the fabric. Never use fabric softener on PUL fabric, as it can ruin the waterproof coating. Air drying is best for PUL, but cotton liners can go in the dryer on low.
As for “serving” or wearing them, you’ll want to change the diaper every 3 to 4 hours. If your dog is a heavy bleeder, you might need to change more often. At night, you can use a diaper with a thicker absorbent insert to get you through the night without a leak. Always give your dog a break for 15-20 minutes every few hours to let her skin air out.
Final Verdict & Summary on DIY Diapers
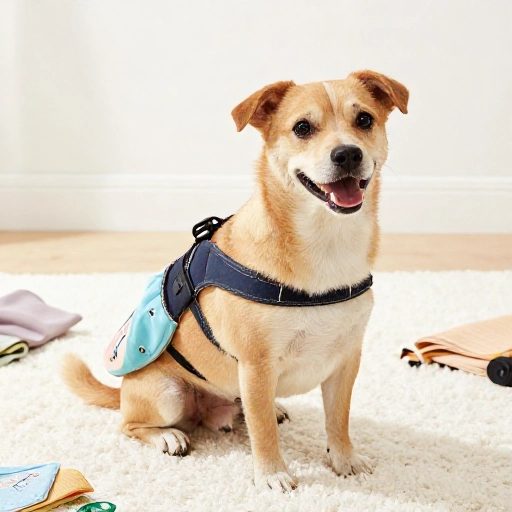
Honestly, once I switched to DIY diapers, I never looked back. The peace of mind knowing that Daisy is comfortable in breathable cotton rather than a crinkly disposable is priceless. It takes a little bit of effort upfront, but the payoff is huge. You get a perfect fit, a cleaner home, and a much happier pup who doesn’t mind wearing them.
I encourage you to try just one of these methods this weekend. Start with the no-sew bandana, and see how easy it really is. Once you get the hang of it, you can experiment with different patterns and fabrics to create a whole wardrobe of stylish, functional diapers. Your dog might not appreciate the fashion statement, but you’ll love the leak-free results!
Frequently Asked Questions About DIY Heat Diapers
How often should I change my dog’s DIY heat diaper?
You should aim to change it every 3 to 4 hours. If you notice it’s soaked or your dog seems uncomfortable, change it sooner. Leaving a wet diaper on can cause skin irritation or urinary tract infections.
Can I use baby diapers for my dog?
Yes, in a pinch! You’ll need to cut a hole for the tail. However, baby diapers aren’t shaped for a dog’s anatomy, so leaks are more common. They’re great for a temporary solution but not ideal for long-term use.
How do I stop my dog from taking the diaper off?
Distraction is key! Give her a special chew toy or a frozen Kong treat while the diaper is on. Make sure the Velcro or snaps are secure but not too tight. Sometimes adding suspenders or a belt over the diaper helps keep it in place for escape artists.
Is it safe to use essential oils on the diaper to help with odor?
It’s best to avoid essential oils. Dogs have a highly sensitive sense of smell, and strong scents can be overwhelming or cause skin allergies. Instead, just wash the diapers with vinegar to neutralize odors naturally.
What is the best fabric for a waterproof outer layer?
PUL (Polyurethane Laminate) fabric is your best bet. It’s breathable, waterproof, and durable. You can find it at most fabric stores or online. A shower curtain liner can work as a temporary backup, but PUL is much more comfortable for your dog.