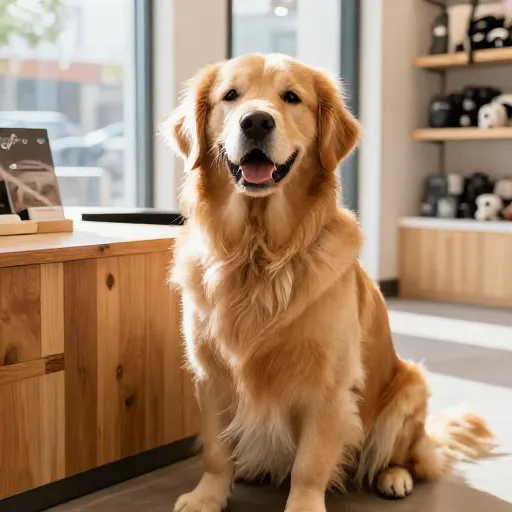
How to Build a Step by Step DIY Pea Gravel Dog Area
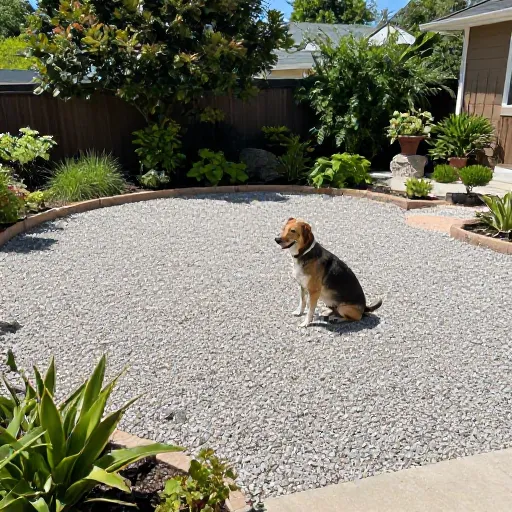
If your backyard turns into a muddy disaster zone every time it rains, you are not alone. My own dogs used to track in so much dirt that I was mopping twice a day. That is when I decided to build a dedicated pea gravel dog area, and it completely changed our outdoor space.
Pea gravel is a dog owner’s secret weapon. It drains fast, stays cool in summer, and does not stick to paws the way mulch or mud does. Plus, it looks neat and tidy. I am going to walk you through exactly how I built mine, step by step, so you can do the same.
This project took me a weekend and cost less than a professional install. Grab your shovel, and let’s get started.
1. Choose the Right Spot
Pick a flat area that gets good drainage. You do not want your new pea gravel area turning into a pond after a storm. I chose a corner of my yard near the back door, so the dogs can run out quickly.
Make sure the spot is away from garden beds where gravel might scatter. Also, think about sun exposure. A little shade is nice for hot summer days, but full shade can keep the area damp longer.
Measure the space. My area is about 10 feet by 12 feet, which is plenty for two medium-sized dogs to play and potty.
2. Gather Your Materials
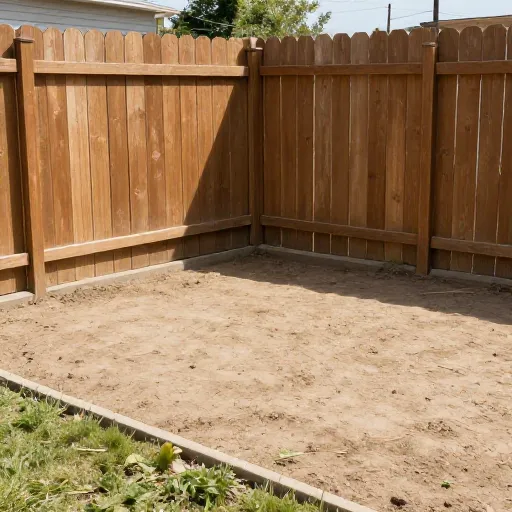
Here is what you will need for this DIY pea gravel dog area:
- Pea gravel (about 2 to 3 inches deep, so calculate accordingly)
- Landscape fabric to block weeds
- Wood or metal edging to keep gravel contained
- Stakes or spikes to secure the edging
- A shovel, rake, and tamper
- A level to check your ground
I bought my pea gravel from a local landscaping supply store. It was much cheaper than bagged gravel from the big box store. Call around for prices before you buy.
You might also want a wheelbarrow. Trust me, moving gravel by bucket gets old fast.
3. Mark and Prepare the Area
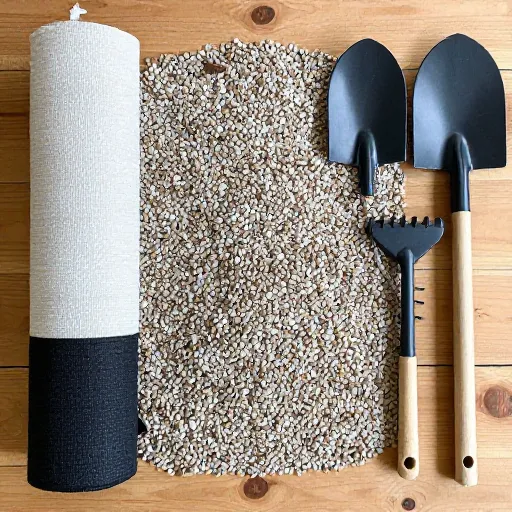
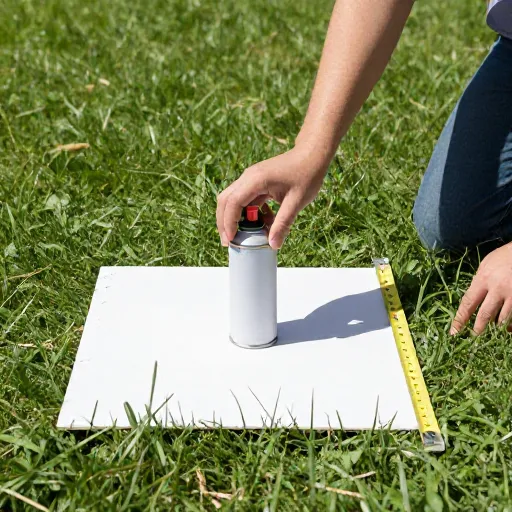
Use spray paint or garden flags to outline your dog area. This helps you visualize the space before you start digging. I used a garden hose to create a curved edge, which looks softer than straight lines.
Remove any grass, weeds, or rocks inside the marked area. Dig down about 3 to 4 inches. This depth allows room for the gravel and a base layer if needed. I used a flat shovel to slice the sod, then rolled it up like carpet.
Once the area is clear, use a rake to level the soil. Then tamp it down firmly with a hand tamper or the back of your shovel. A solid base prevents the gravel from sinking unevenly later.
4. Install Edging
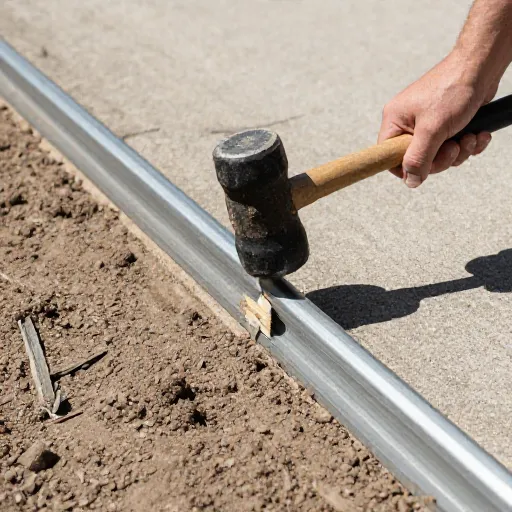
Edging keeps your pea gravel from scattering all over the yard. I used flexible metal edging because it curves easily and looks clean. You can also use plastic, stone, or pressure-treated wood.
Dig a small trench along your outline, place the edging, and secure it with stakes every 2 feet. Make sure the top of the edging sits slightly above ground level. This helps contain the gravel when dogs run and dig.
Check with your level to ensure the edging is even. It does not have to be perfect, but a straight line looks more polished.
5. Lay Down Landscape Fabric
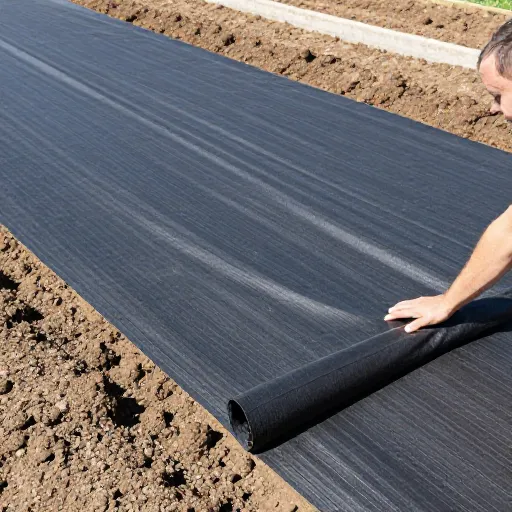
This step is crucial if you hate weeding. Roll out landscape fabric over the entire area, overlapping edges by at least 6 inches. Cut slits for the edging stakes if needed.
The fabric blocks sunlight so weeds cannot sprout underneath the gravel. It also helps separate the gravel from the soil, which improves drainage. I used a heavy-duty fabric that lets water through but stops weeds.
Secure the fabric with landscape pins every few feet. Smooth out any wrinkles so it lies flat. This is the foundation your gravel will sit on.
6. Add a Base Layer (Optional but Recommended)
If your soil is very soft or clay-heavy, add a 2-inch layer of crushed stone or decomposed granite before the pea gravel. This base layer improves drainage and prevents the gravel from sinking into mud.
I live in a rainy area, so I added crushed stone. It compacts well and creates a solid foundation. Rake it evenly and tamp it down before moving on.
You can skip this step if your soil is sandy or already drains well. But for most yards, the extra effort is worth it.
7. Spread the Pea Gravel
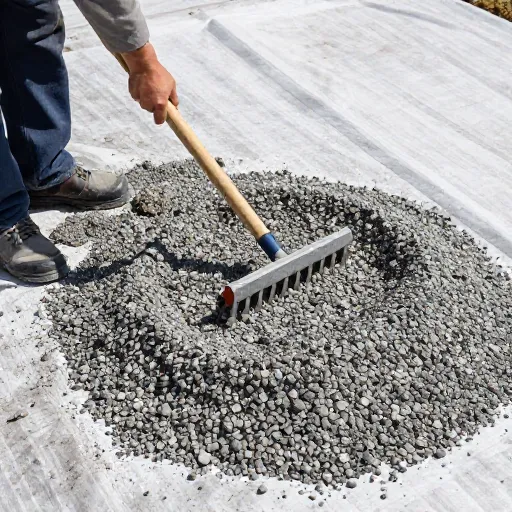
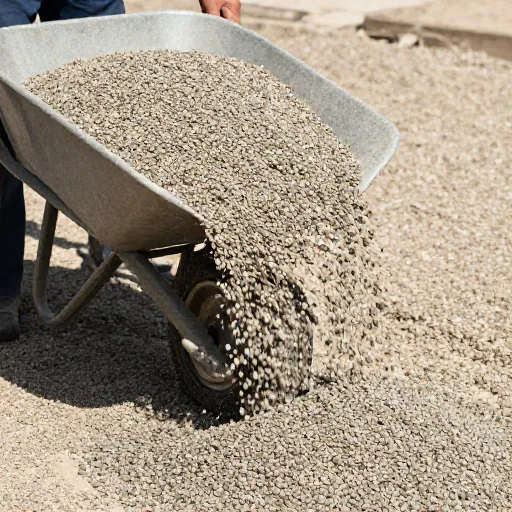
Now for the fun part. Dump the pea gravel onto the fabric and spread it with a rake. Aim for a depth of 2 to 3 inches. Too shallow and the fabric will show; too deep and the dogs might struggle to walk.
I worked in sections, adding gravel and raking until it was even. Use the back of the rake to smooth the surface. Do not compact the gravel, because pea gravel is meant to stay loose.
Step back and check for low spots. Add more gravel where needed. The final surface should look level and inviting.
8. Create a Designated Potty Zone
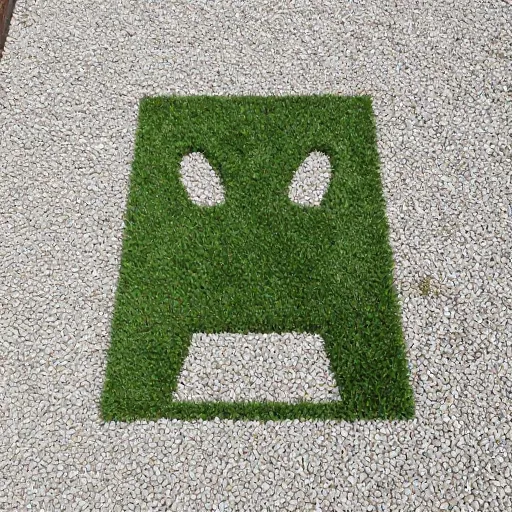
Dogs naturally choose a spot to do their business. I placed a small patch of artificial turf on one corner of the gravel area. It is easy to hose off and gives my dogs a clear place to go.
You can also add a large flat stone or a concrete paver as a designated potty spot. This makes cleanup simple and keeps the gravel cleaner overall.
If you have a female dog, consider adding a small patch of real grass in a pot. Some dogs prefer grass over gravel. Just set the pot in the gravel area and replace the grass as needed.
9. Add Shade and Comfort
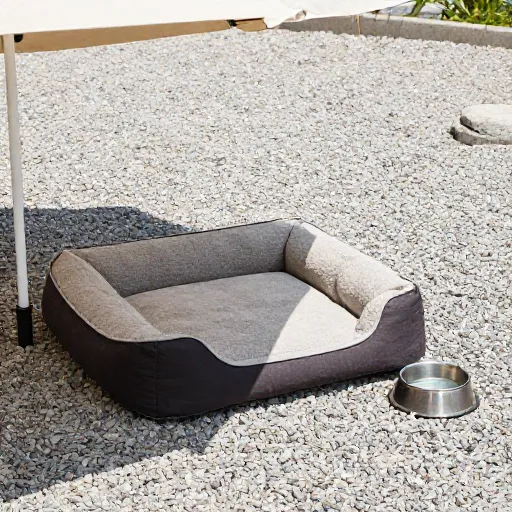
Your dog area will get more use if it is comfortable. I added a large cantilever umbrella over one side of the gravel. It provides shade during hot afternoons and keeps the gravel cooler.
You can also place a dog bed or a low bench in the shade. My dogs love to lie on their bed while watching the yard. Just make sure any furniture is stable and won’t tip over.
If you have room, add a shallow kiddie pool. Pea gravel drains so well that splashed water just disappears. It is a game changer during summer.
10. Maintain Your Pea Gravel Dog Area
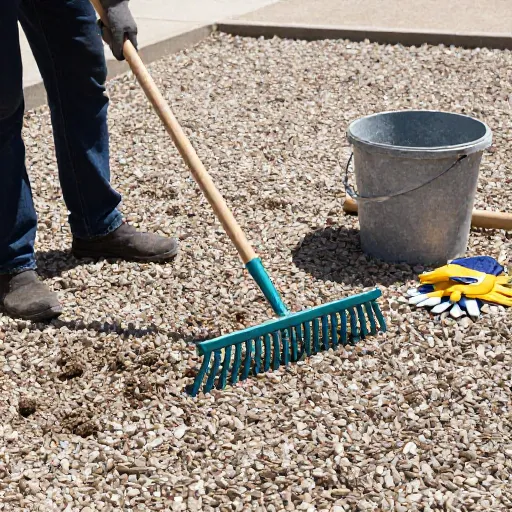
Maintenance is easy. Rake the gravel once a week to keep it level and remove debris. I use a leaf blower on low to blow leaves and fur off the surface.
Occasionally, you will need to add fresh gravel as it settles or gets displaced. I top mine off every spring. A 50-pound bag covers a small area.
For odors, sprinkle baking soda over the gravel and hose it down. Or use an enzyme cleaner designed for pet areas. Pea gravel does not absorb smells the way mulch does, so this is rarely needed.
Conclusion
Building a step by step DIY pea gravel dog area was one of the best projects I have done for my yard. It solved the mud problem, gave my dogs a clean place to play, and even made my backyard look better. The whole process took a weekend, and the cost was surprisingly low.
If you are tired of muddy paws and messy grass, give this project a try. Your dogs will love having their own special spot, and you will love how easy it is to maintain. Happy building!
[[IMG:IMG12]]
Frequently Asked Questions
1. Is pea gravel safe for dogs?
Yes, pea gravel is generally safe. The stones are smooth and small, so they do not hurt paws. Just watch out for sharp edges if you buy crushed gravel. Always choose rounded pea gravel.
2. Will pea gravel get too hot in summer?
Pea gravel stays much cooler than concrete or asphalt. The stones have gaps that allow air to circulate. In direct sun, it can get warm, but it rarely gets hot enough to burn paws. Provide shade if you are worried.
3. How do I clean dog poop from pea gravel?
Use a pooper scooper or a small shovel. Solid waste lifts easily. For liquid waste, just hose down the area. Pea gravel drains well, so urine does not pool or smell.
4. Does pea gravel attract fleas or ticks?
No. Pea gravel is not a habitat for fleas or ticks. They prefer grass and leaf litter. A gravel area can actually help reduce pest problems in your yard.
5. How often do I need to replace pea gravel?
With proper maintenance, pea gravel lasts years. You will need to add a little each year as it settles. A full replacement is rarely needed, maybe every 3 to 5 years depending on traffic.